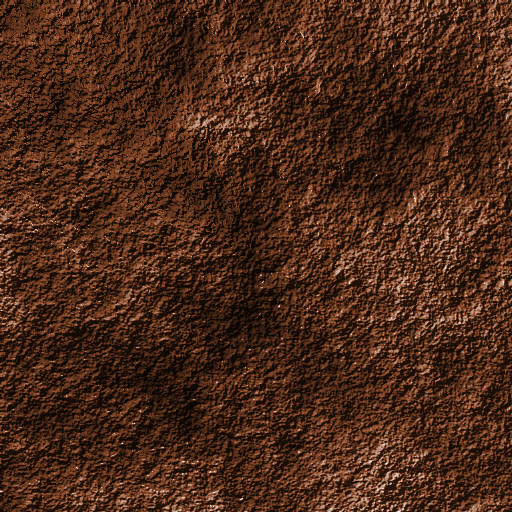
GIMPを使って岩っぽいテクスチャを作ってみようと思います。
1. 512×512のイメージを作成し、Filters » Render » Clouds » Plasma… でプラズマフィルターを実行
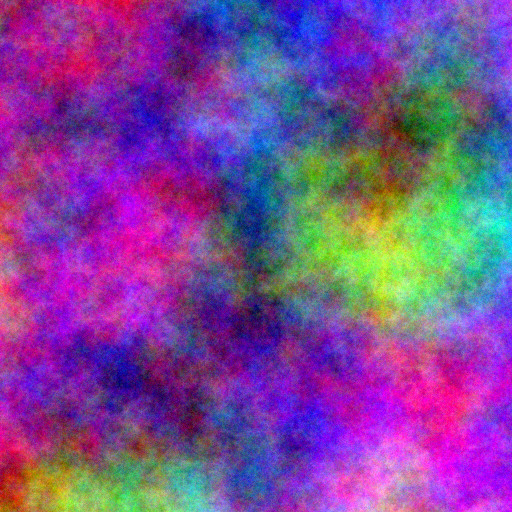
Random seeds: 0
Turbulence: 2.2
Random seedsとTurbulenceは適当に調整してそれっぽい絵になる値を探してみてください。
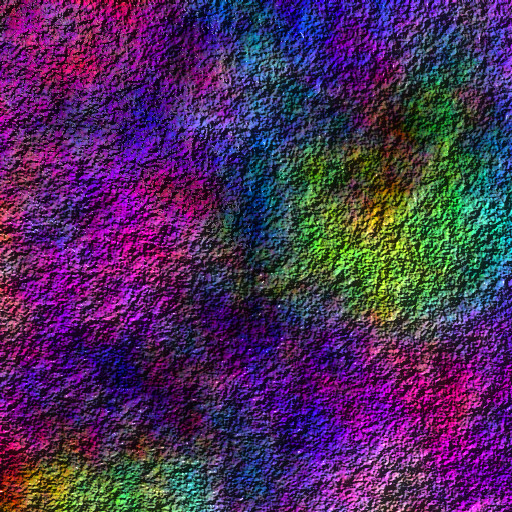
2. Filters » Lights and Shadow » Lighting Effects…を実行
Bump MapのタブでEnable bump mappingを有効に設定します。
Distanceはお好みに合わせて調整してください。
3. Colors » Desaturateを実行
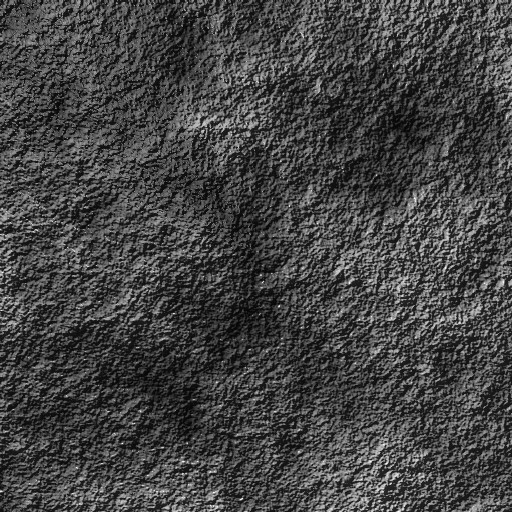
これで完成です。
茶色に色付けしてみと次のような感じになります。