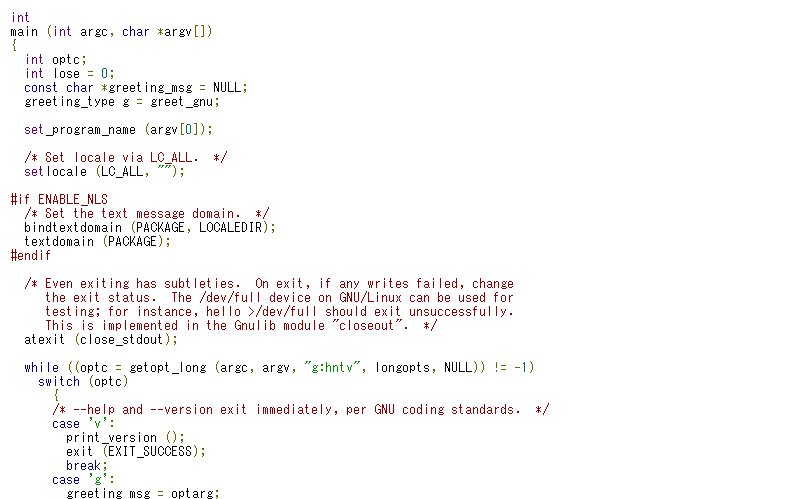
技術系のホームページを作っているとソースコードを載せたくなることも多いと思います。そのままソースコードの文字列を表示してもいいですが、キーワードがハイライトされていると綺麗ですし、見易いですね。ということで、今回はgoogle-code-prettifyというJavaScriptのスクリプトを紹介したいと思います。
google-code-prettifyの使い方
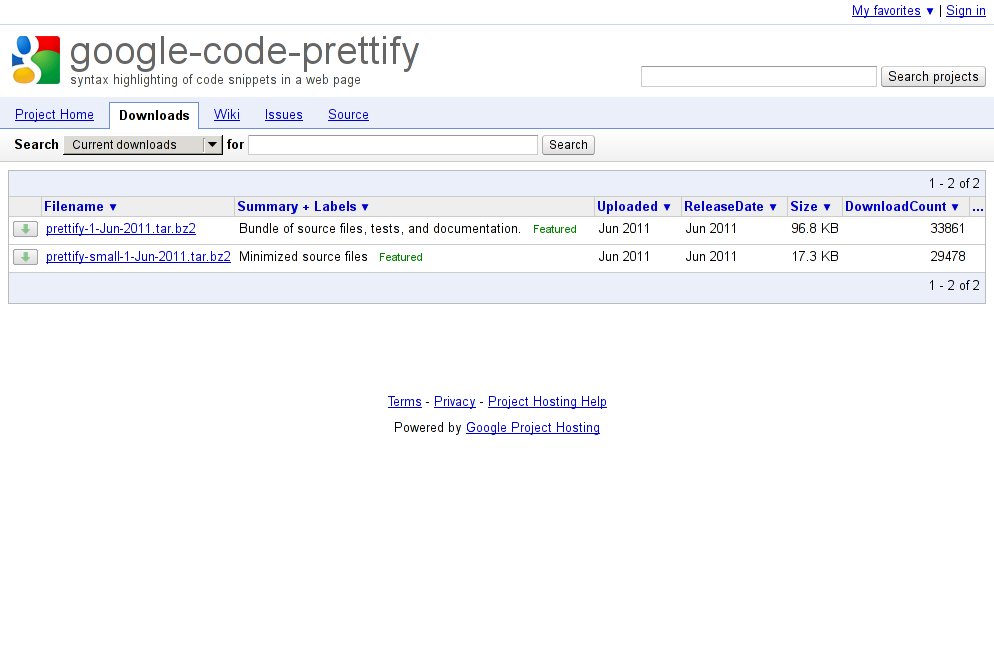
http://code.google.com/p/google-code-prettify/downloads/listからprettify-small-1-Jun-2011.tar.bz2をダウンロードして適当なディレクトリに展開
HTMLファイルに下記のタグを追加
<link href="prettify.css" type="text/css" rel="stylesheet" />
<script type="text/javascript" src="prettify.js"></script><body>を下記のように書き変える注1
<body onload="prettyPrint()">色付けしたいソースコードを下記のタグで囲む
<pre class="prettyprint">...</pre>もしくは
<code class="prettyprint">...</code>ソースコードの言語は自動判定されますが、手動で設定したい場合は下記のように記述することもできます。
<pre class="prettyprint lang-html">...</pre>google-code-prettifyを使ったサンプルサイト
注1 最終的にprettyPrint関数が実行されればよいので<body>タグにonloadを追加する以外の方法でも問題ありません。